 |
| entrance to the building |
 |
| Panorama shot looking at the building/grass |
 |
| another building shot |
 |
| Fountain now filled with flowers (and construction workers on the 2nd floor!) |
|
| entrance to the building |
|
| Panorama shot looking at the building/grass |
|
| another building shot |
|
| Fountain now filled with flowers (and construction workers on the 2nd floor!) |
 |
I've been itching to do a DIY for the blog, and I was finally inspired by a friend who is screen printing some pretty amazing things. So, I thought I'd try it myself. I didn't want to go buy a screen printing machine just yet and I didn't feel like spending $150 either (what if I didn't like the whole process?) so I looked for a few tutorials online. I ended up using this tutorial, which was pretty easy if I say so myself! The drawback with using this method (with drawing fluid) is that you can't do anything with super fine lines. But it totally works for other things. I could see making these for welcome bags for weddings, or to use as favor bags at a party. What do you think? |
 |
| A few of the materials - fabric paint, a print of my design, a staple gun... |
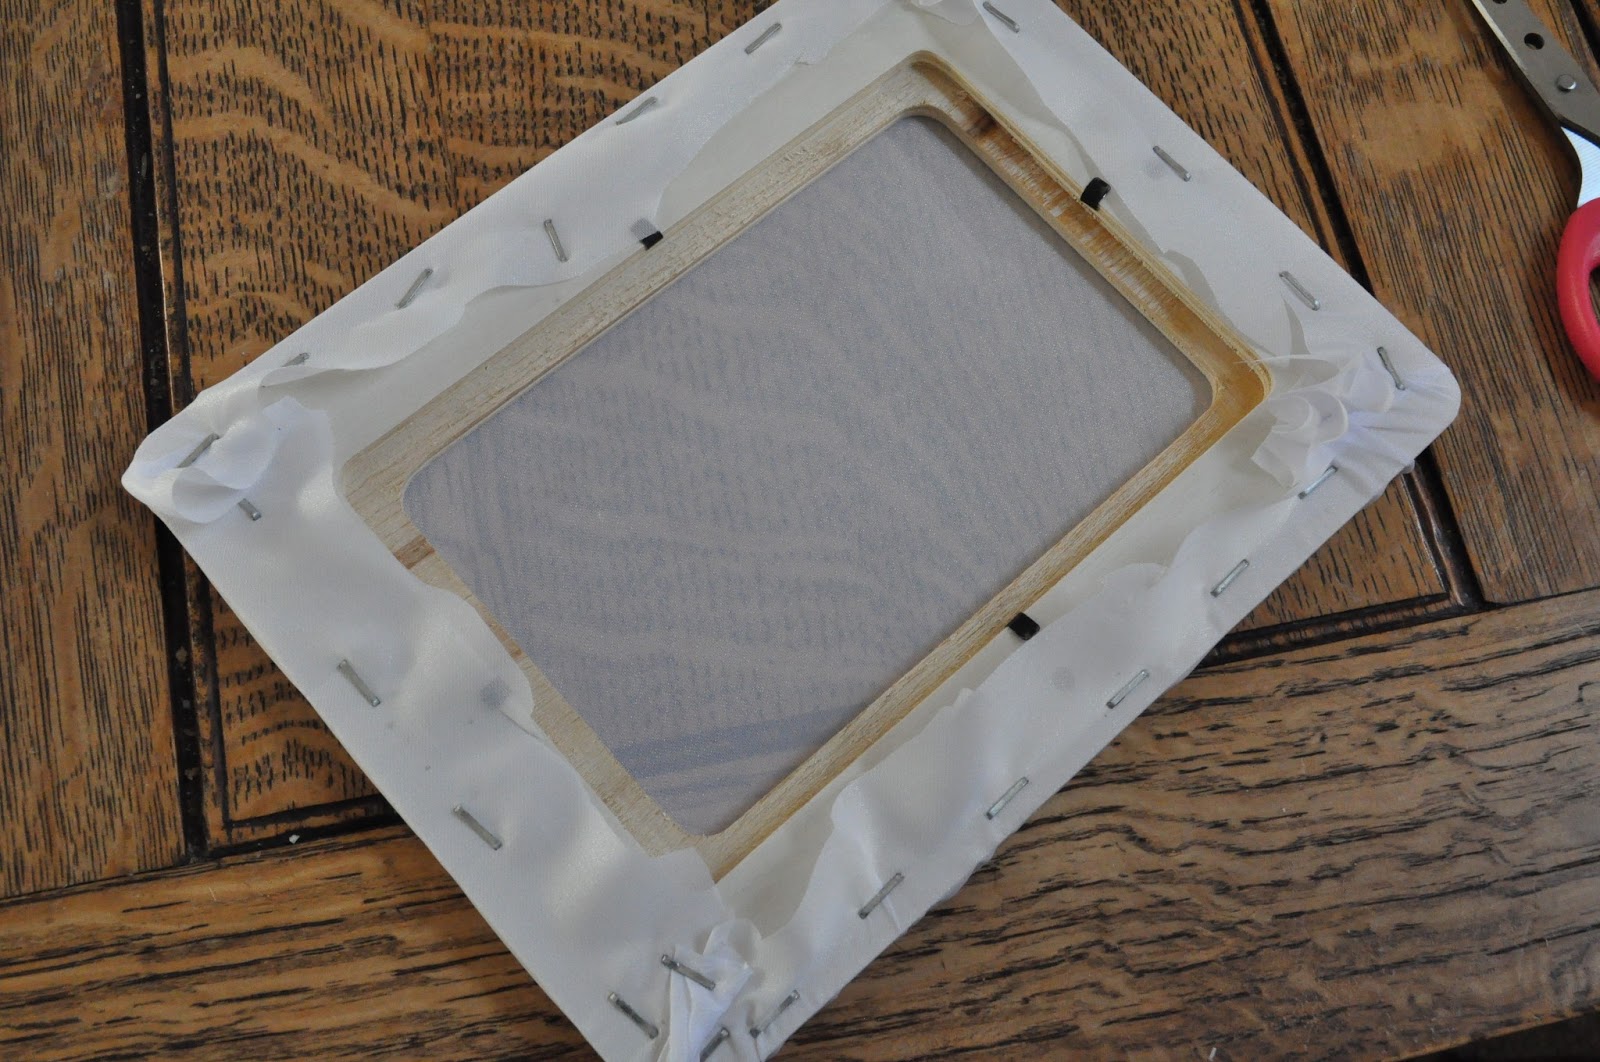 |
| Take your fabric (mine was polyester mesh like) and staple to an old frame (or in my case, a 99 cent frame from Micheals) |
 |
| (what it looks like when it's nice and stapled) |
 |
| Trace the design on the fabric with a pencil |
 |
| Flip the frame over. Paint in the image with Drawing Fluid (I used the brand Speedball) . Make sure it's wet, but not sopping wet. Allow it to dry. (I was impatient so I used the blowdryer). |
 |
| With the frame right side up, put a bit of screen filler on the frame. Use a squeegee (or in my case, an old plastic gift card) to cover the entire area of the frame. Allow to dry. (Once again, I used the blowdryer!) |
 |
| Next, you have to wash off the drying fluid (this step isn't shown...my hands were wet!) Basically you want to get rid of the blue paint that you put on earlier. It helps to use a scrubby or a sponge to get it off. This is what your fabric paint will go through, so make sure the lines look good! After the screen is all dry (blowdryer!) put it face down on your bag. |
 |
| Last step - not shown, whoops! With your screen face down, put some fabric paint on it, and again with the plastic card, at a 45 degree angle, spread the paint across. I found if you did it too much the paint would smear. So just a few times will do it. |
 |
| Ta da! The final product. I also printed on a few kraft cards I had laying around as well. I think I'm hooked! |


 |
| photo by Andrei Riskin Photography |
 |
| photo by Andrei Riskin Photography |